Turn Off AutoFocus (Complete Guide)
Most phones and cameras today use autofocus. This means the camera decides what part of the picture should be sharp. It makes taking photos easy because you don’t need to adjust the lens yourself.
But autofocus is not perfect. Sometimes it locks on the wrong thing, like a window glare instead of a face. I’ve had times when my phone kept shifting focus during a video, and the clip looked messy. That’s when I learned how helpful it is to lock or turn off autofocus.
When you turn off autofocus, you take control. You can choose what stays sharp in the photo or video. This is useful in low light, when shooting sports, or when making creative shots. Even big camera brands like Canon say manual focus can work better when autofocus struggles. Knowing how to do this can save your photos from being blurry.
What Does It Mean to Turn Off AutoFocus?
Autofocus is what makes your camera or phone choose what part of a picture should look sharp. Most of the time, it works fine—you point the camera, and it locks on by itself. But sometimes it picks the wrong thing, like the background instead of your subject. Turning off autofocus, or using manual focus or AE/AF lock, lets you decide what stays clear.
When you use manual focus, the camera stops guessing. This is helpful if you want steady focus, like when filming a video and you don’t want the picture to keep shifting. It also helps in photos when you need accuracy, such as shooting close-up details or focusing through glass. On phones, you can hold your finger on the screen for AE/AF lock, or in Android settings you can turn off “Tracking Autofocus.”
I ran into this myself while filming a friend’s concert. My phone kept focusing on the bright stage lights instead of the singer. Once I pressed and held to lock the focus, it stayed on the singer and the video looked much better. That small trick made a big difference.
Why You Might Want to Disable AutoFocus
Creative Control
One big reason to turn off autofocus is to have more control over your photos or videos. When you use manual focus, you choose exactly what part of the picture should be sharp. For example, you might want the background blurry so the person in front stands out. I often do this when filming small clips because I want the camera to follow my idea, not make its own choice.
Another benefit is that manual focus stays steady. Autofocus might change if something new moves into the frame, but manual focus will hold still. This makes it great for portraits, product shots, or film work where you don’t want the focus to shift by mistake.
Shooting Fast-Moving Subjects
Autofocus doesn’t always work well when things move quickly, like kids running, cars racing, or pets playing. The camera can waste time trying to “catch” the subject, and by then the moment is gone. Pre-focusing on a spot where the action will happen can help you get sharper shots.
I once photographed a basketball game, and autofocus kept falling behind the players. When I switched to manual focus and aimed at the hoop, my photos came out much better. Many sports photographers use this trick so they don’t miss the action.
Shooting Through Glass or Obstacles
Autofocus often gets confused by glass, fences, or even tree branches. Instead of focusing on what’s behind, it may lock onto the glass or barrier. Using manual focus fixes this because you tell the camera exactly where to focus.
I noticed this while taking photos at an aquarium. My phone kept focusing on water spots on the glass instead of the fish. When I turned off autofocus and focused manually, I finally got clear shots of the fish.
Prevent “Hunting” or “Fishing Focus”
When recording video, autofocus sometimes keeps moving in and out, trying to find the subject. This is called “focus hunting,” and it can be very distracting to watch. Turning autofocus off makes the video steady and smooth.
I had this problem when making a video in low light. The focus kept shifting, and the footage looked unprofessional. After locking the focus manually, the video looked much better and more stable. Filmmakers often do this so the audience keeps their attention on the subject.
How to Turn Off AutoFocus on Smartphones
On iPhone (iOS)
On an iPhone, the easiest way to stop autofocus is by using the AE/AF Lock. Open the Camera app, point it at what you want, then tap and hold on the screen. After a couple of seconds, the words “AE/AF Lock” will show up. This means your focus and brightness are locked. I use this often when filming videos, because it keeps the picture steady instead of the focus jumping around.
If your iPhone has iOS 15 or newer, you can also use Macro Control. Go to Settings → Camera → Macro Control and switch it on. This lets you decide when the phone should use close-up focus. It’s great for things like flowers, food, or small objects, where you don’t want the focus to move on its own.
On Android Devices
Most Android phones let you lock focus the same way. Just open the Camera app, point at your subject, and tap and hold. The focus will stay in place until you tap somewhere else. I often use this when taking photos of my dog, because autofocus keeps changing when he moves, and that makes the picture blurry.
For even more control, try a free app like Open Camera from Google Play. This app has a manual focus slider, so you can set the focus exactly where you want it. It works really well in dark places, close-ups, or anytime you need a steady focus. Many people use it when they want their phone to feel more like a real DSLR camera.
On Samsung Devices
Samsung phones have a feature called Tracking Auto Focus. This makes the camera follow moving objects, but it can cause the focus to jump or blur. To turn it off, open the Camera app → tap the Settings gear → switch off “Tracking auto focus.” Now your camera will stay steady instead of chasing movement.
I’ve found this very useful when filming kids or pets. Sometimes the camera tries to focus on the background instead of the subject, which can ruin the shot. With tracking off, you get to choose the focus point yourself, and the picture looks much better. Samsung also shares this fix on their support page.
How to Turn Off AutoFocus on Dedicated Cameras
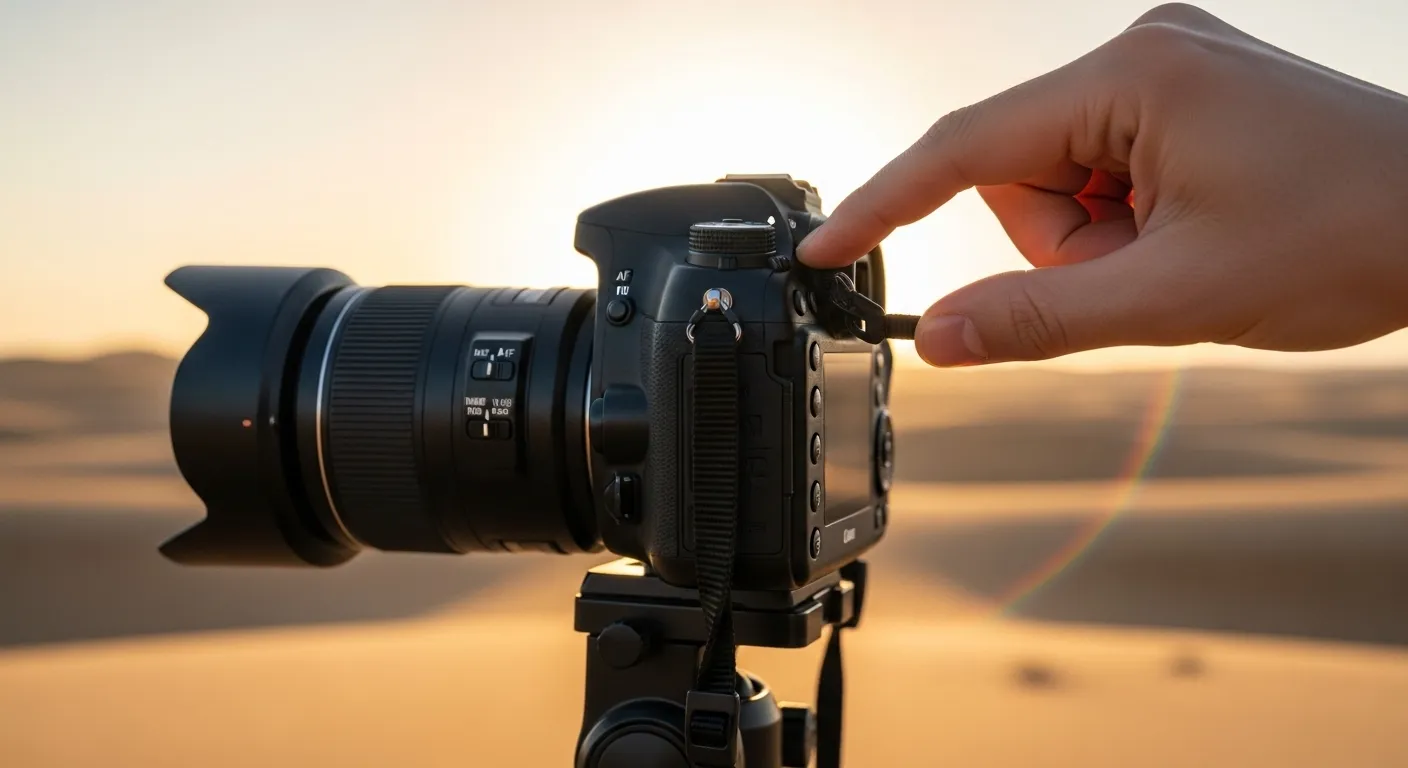
DSLR & Mirrorless (Canon, Nikon, Sony)
Most DSLR and mirrorless cameras make it simple to turn off autofocus. The easiest way is to use the small AF/MF switch. You’ll usually find this switch on the side of the lens or on the camera body. Flip it to “MF” (manual focus), and now you control the focus using the focus ring. On Canon and Nikon lenses, this switch is almost always on the lens. On Sony cameras, you can also change focus mode inside the menu if you prefer.
From my own shoots, I’ve learned that manual focus is very helpful in low light or when the subject has little detail. Autofocus often struggles and “hunts,” moving in and out without locking on. By using manual, I can make sure the focus stays exactly where I want it—like on someone’s eyes or on a product detail. At first, it feels slower, but with practice, you’ll see your shots get much sharper.
Many cameras also give you tools to help, like focus peaking or a zoom-in view on the screen. Focus peaking shows colored lines on the sharpest parts of your photo. Zoom view lets you check tiny details before you take the shot. These features make manual focusing much easier. To find the steps for your model, check the official guides from Canon, Nikon, or Sony.
Video Cameras / Professional Gear
On video cameras, many filmmakers prefer manual focus. Autofocus can change too much during recording, which makes the footage look unsteady. By switching to manual, you set the focus before you hit record, and it stays there. Most pro video cameras have a switch or button for this, so it only takes a second.
When I filmed my first interview, I trusted autofocus. Big mistake—the camera kept shifting as the person leaned forward or back. The result was distracting. After that, I started setting focus by hand on the subject’s eyes, and the video looked much more professional. Manual focus gives you more control, which is key for video work.
Pro gear often has tools like follow focus wheels, focus peaking, or external monitors. These make it easier to change focus smoothly during a scene. This is how filmmakers get that “cinematic look.” If you’re serious about video, it’s worth learning these manual focus skills. You can also check your brand’s official support site (like Sony or Blackmagic) for tips on manual focus in filmmaking.
Special Cases Where You Need to Disable AutoFocus
Macro Photography
When you take close-up photos, like of flowers or insects, autofocus can get confused. The camera may keep moving in and out, trying to pick the right spot. If you switch to manual focus, you can choose the exact detail you want sharp—like the edge of a petal or the eye of a bug.
I remember trying to take a picture of dew on a spider web. Autofocus kept picking the background instead of the drops. Once I switched to manual focus, I could set it myself and finally capture the tiny details clearly.
Low Light Conditions
Autofocus often struggles in dark places. The camera needs contrast and light to focus, and when it can’t find enough, it just keeps searching. Manual focus works better because you decide where the sharp point will be.
I had this problem once at a concert. The lights were low, and my camera just wouldn’t focus on the singer. I turned off autofocus, set it myself, and the photos came out much clearer.
Long Exposure & Astrophotography
When you take photos of the night sky, autofocus usually fails. The stars are too small and dim for the camera to lock onto. The best way is to switch to manual focus and set it near infinity.
When I first tried shooting the Milky Way, autofocus gave me blurry shots. I used live view, zoomed in, and turned the focus ring until the stars looked sharp. A good trick is to test your lens in the daytime on something very far away, so you know exactly where to set it at night.
Common Issues & Fixes When Turning Off AutoFocus
Camera Keeps Resetting Focus
Sometimes the camera won’t stay locked and keeps switching back to autofocus. This often happens if you tap the screen by mistake or change modes in the camera app. On iPhones, the AE/AF Lock may not hold if you don’t press long enough. On Android, some apps forget the setting when you exit. To fix this, press and hold until you see the lock symbol, or try a camera app like Open Camera, which keeps the focus locked.
Autofocus Won’t Stay Locked
Another problem is when the camera won’t keep the lock, even after you set it. I’ve run into this when shooting through glass, where the camera tries to focus on reflections instead of the subject. On my Samsung phone, this happened because “Tracking Auto Focus” was turned on. Turning it off in Camera > Settings fixed it right away. On iPhone, make sure the words AE/AF Lock stay on the screen, or it will start focusing again.
How to Test if Focus is Correctly Set
A simple way to check if focus is locked is by zooming in on your subject before taking the shot. If it looks sharp, then the focus is set. For video, I wave my hand in front of the lens. If the focus does not change, the lock is working. Another good trick is to take a test photo and zoom in on it in the gallery. If the details are clear, you know the focus is correct.
Alternatives If You Can’t Fully Disable AutoFocus
Focus Lock Instead of Manual Mode
If your phone doesn’t let you fully turn off autofocus, you can still use focus lock. On iPhones, just tap and hold until you see AE/AF Lock. On Android, press and hold on the subject to set focus. I use this trick often when I don’t want the focus to jump around while I’m filming. It’s quick, simple, and works for most situations.
Using Third-Party Apps (Android & iOS)
If the default camera app doesn’t give you enough control, try using a third-party app. On Android, Open Camera lets you set focus by hand and even use focus peaking, which highlights sharp areas. On iPhones, apps like Halide or ProCamera give you more pro features. I like using Halide because it lets me slide the focus where I want it and stops the camera from shifting mid-video.
Conclusion
Autofocus is helpful most of the time, but sometimes it can cause problems. You may want to turn it off when taking photos of moving subjects, shooting in dark places, or pointing the camera through glass. I often turn off autofocus when recording videos because the camera keeps shifting focus, which looks distracting. By turning it off, you get to decide exactly where the picture should be sharp.
Learning how to control focus gives you more power over your photos and videos. When you stop relying only on autofocus, you start to notice details and plan shots more carefully. For example, when I take pictures of stars at night, autofocus doesn’t work at all, so I use manual focus to keep the stars clear. With practice, manual focusing will make your work look sharper and more creative.